
Bonus Embroidered Quilt Labels
February 20, 2020
Hi!
I’ve just finished a new quilt, and while making the quilt label, it got me to thinking…
With each quilt, you are creating an heirloom to be cherished by future generations. The story you write on the label will be of historical interest in years to come…

When you put all that effort into making each of your quilts, it’s worth just that little bit more to finish it off properly. This of course includes your label. Whilst it’s perfectly acceptable to just write the details you want to record on a piece of light coloured fabric or a store-bought label and stitch it in place, your quilt back will look so much nicer with a carefully stitched label, to enhance the work you’ve put into the front of your quilt.
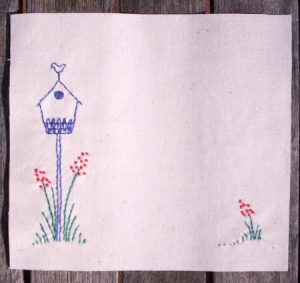
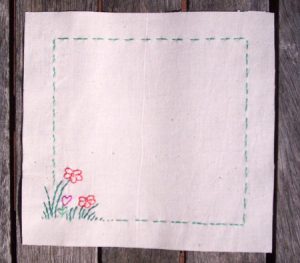
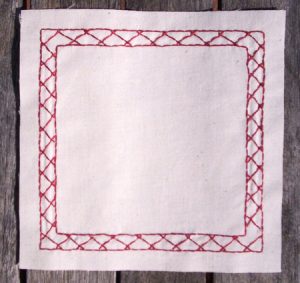
To say thanks for visiting our blog, here’s a few labels we’ve designed and used on quilts we’ve made. You can download the designs for these from: http://www.onlinequiltmagazine.com/members/content/f/id/797
For your next quilt, you might like to try one of these original label designs, and you will find stitching these more personal labels a very quick and satisfying way to complete each of your quilts.

These label designs are all approximately 6 inches square, but you can of course increase or decrease the stitched size of them depending on your personal preference.
All of our examples have all been stitched in backstitch, using 2 strands of embroidery floss. We used colonial knots (or French knots) for the dots where they are shown in the designs.
Using the patterns on the following pages, trace your design onto a piece of muslin or pale coloured fabric with your washable fabric marking pen and stitch your design.
Cut your squares slightly larger to allow for a turned under seam allowance when you attach your label to your quilt. You may then write your label details on with a permanent fabric marker, or if you feel like more stitching, embroider them on with a matching thread!

**A great tip too is to attach your label first (top and one side), before you turn over your binding to the back and stitch in place. This means that you will catch two edges of your label with the binding (bottom and other side), which will keep your label with all those important details even more firmly in place on the reverse of your quilt.
Enjoy!


What a great idea. thank you for sharing.