
Christmas Tree Decorations
July 17, 2024
Hi!
We’re well and truly in the thick of “Christmas in July” right now, and what better than a free pattern for some oh-so-cute Christmas Tree Decorations! You could even make some extras and combine them with some Hexie Stars from our post a couple of weeks ago and make some bunting for your fireplace… 🙂
You’ve probably heard all about our Quilter’s Advent Calendar by now too, and like all good things, this Earlybird Sale is coming to a close. There’s only about 48 hours left to register and save $$, and take advantage of our extra “12 Days of Christmas in July” bonus, as those 12 extra patterns will only be emailed out to registered Advent Calendar participants, and will not be on our blog. Do check it out if you haven’t yet….
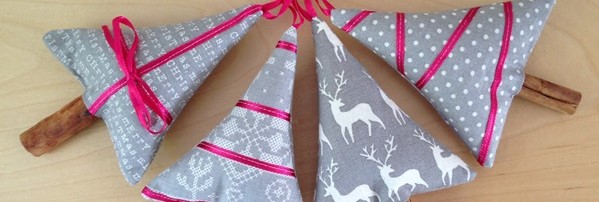
Christmas Tree Decorations
Decorate your tree with these fun scented tree ornaments, or hang them in small groups around your home.
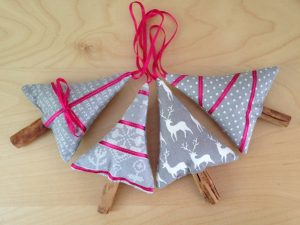
Our decorations are about 5½ inches long.
You Will Need:
Small amounts of Christmas fabrics for your Christmas tree decorations
Thin ribbon for embellishment and the hanging loops
Hobbyfill to stuff the trees
Short cinnamon sticks for the trunks
Construction:
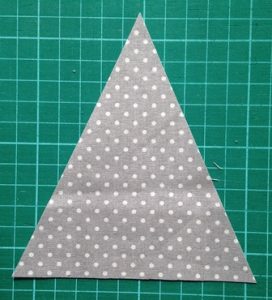
Use the template provided to cut out the triangle shapes for your Christmas tree decorations. You will need two triangles for each tree.
You can download the template from – https://www.onlinequiltmagazine.com/members/content/f/id/1213
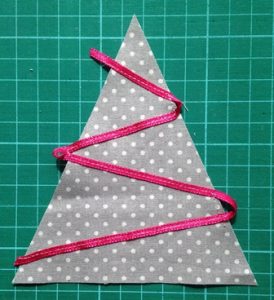
Use the ribbon to decorate your trees as you like. For our first tree, we simply topstitched the ribbon in a zig zag on one of the fabric triangles.
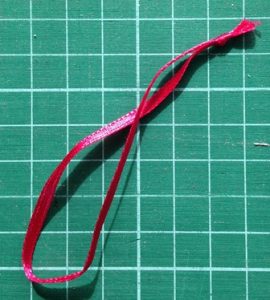
To make the hanging loop, cut a 9 inch length of ribbon and knot the ends together.

Lay the hanging loop on the front piece as pictured, with the knot just off the top point of the triangle.
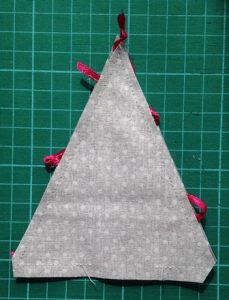
Place the second fabric triangle on top, face down, and sew together, making sure to leave a gap in the centre of the bottom seam.
Be careful not to catch the hanging loop in your side seams.

Clip the bottom corners and turn right sides out.
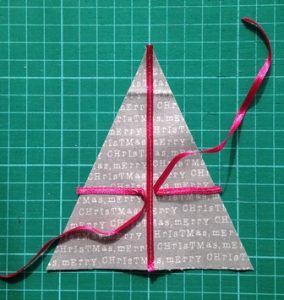
We ‘wrapped’ our second tree like a present.
Sew a strip of ribbon from top to centre bottom, then add strips to either side. Leave a tail on each strip in the middle as shown.

Tie a bow with the ends, and you’re all set to sew the tree together as you did for the first one.
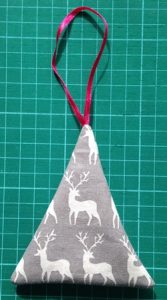
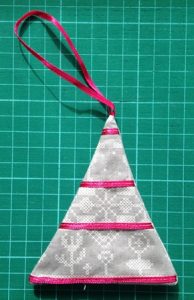
We left our third tree plain…
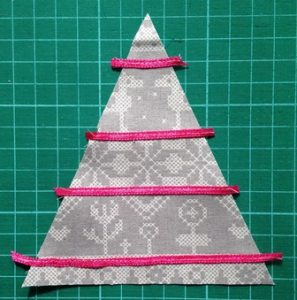
And the fourth has horizontal rows of ribbon.
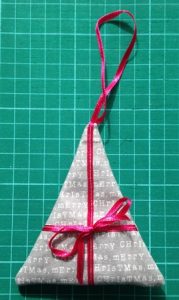
To finish, use the hobbyfill to stuff each tree so they are nice and plump. Insert a cinnamon stick into the middle and hand stitch the gap in the bottom seam closed, around the stick. If you sew fairly tightly either side of the stick it will stay in place and not fall out.
Enjoy making these Christmas tree decorations for your Tree, and don’t forget to register now at www.QuiltersAdventCalendar.com for lots more Christmas Patterns this year.
Have a great week!


Welcome to our
Online Quilt Magazine Blog
Read through to discover hints and tips, articles from magazine contributors, sneak peeks and more!
Please enter your email address in the box below to receive notification of
new posts by email.

Leave a Reply