
You’ll Never Guess What We’ve Been Making Instead of Quilts
June 16, 2020
Hi!
It’s our Birthday, and I hope you’ve all read your Super Big 10th Birthday Magazine issues this month! There’s some fun new patterns all from 10 inch layer cake squares, and we certainly enjoyed putting them together.
You’d think, with it being our birthday month and all, that it would be full of quilting, and cakes and champagne (?)… I wish!!
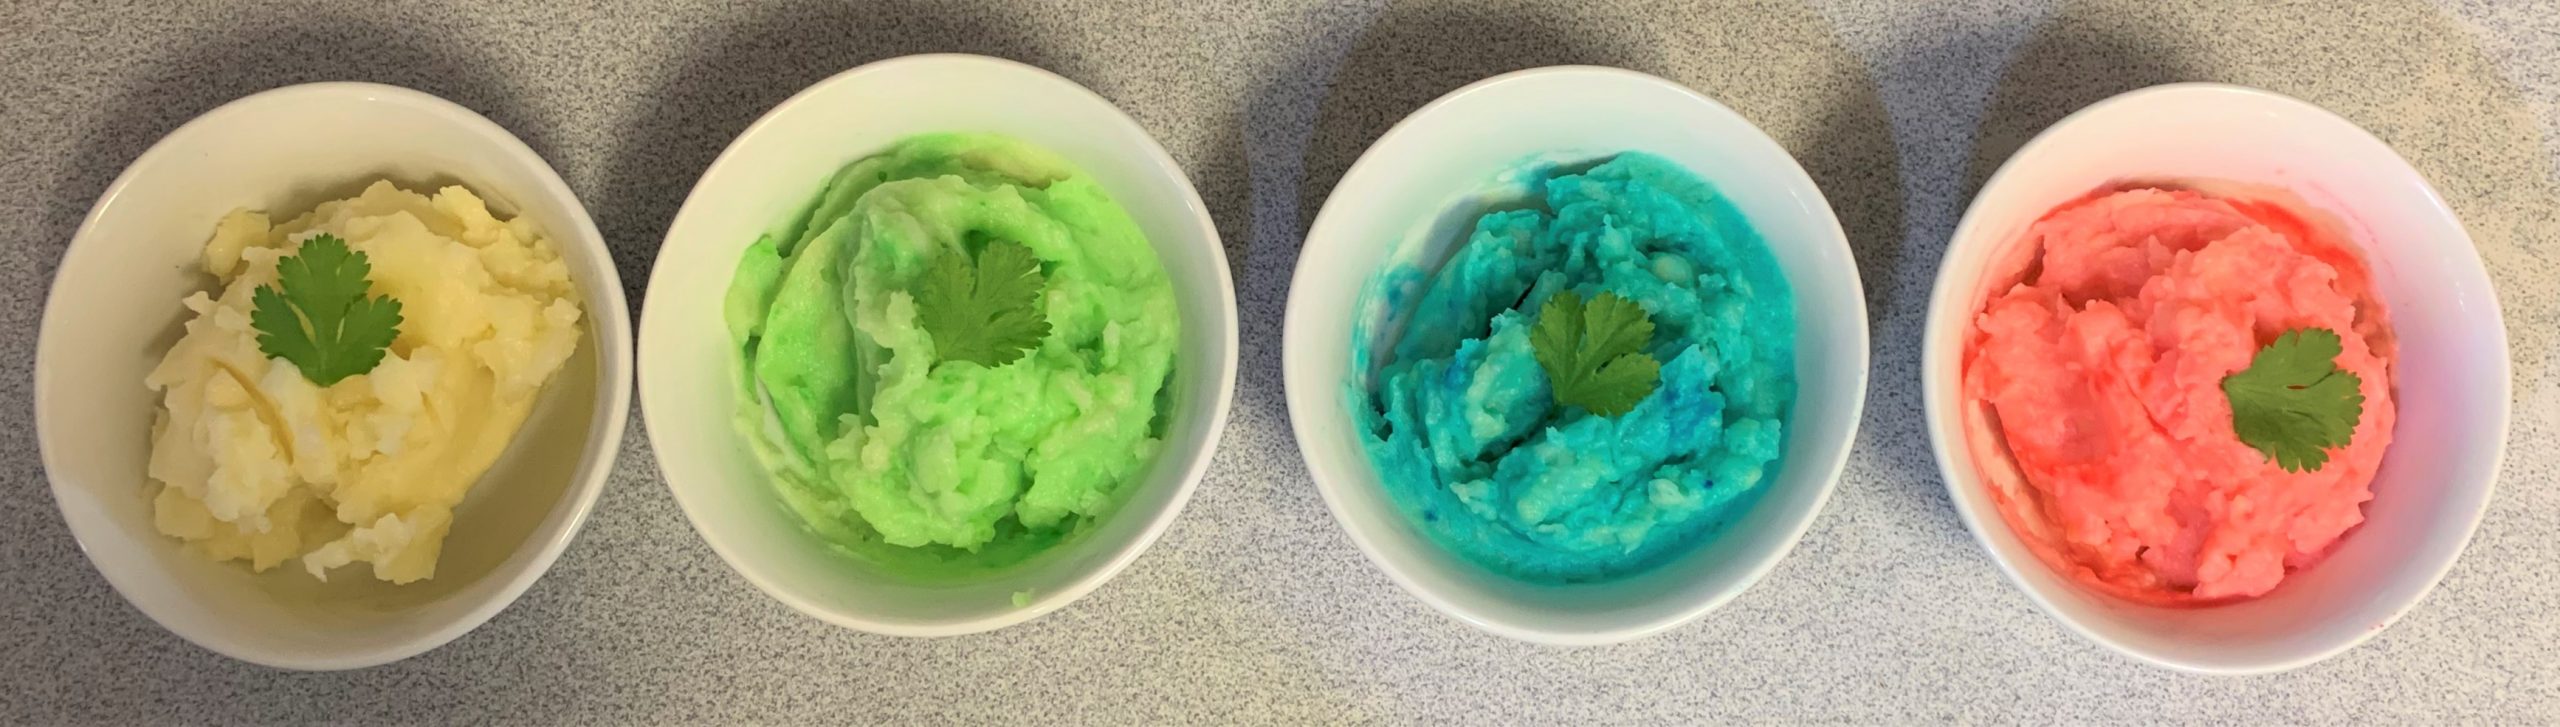
Instead of spending last weekend working on my next big quilty project, I helped Miss 14 with her science project. It’s something along the lines of how age affects our food preferences based on colour. I’m not that old, but I can tell you – give me the natural coloured food every day!!!
Above, you’ll see a photo of our mashed potato…yep, that’s right. We did scones, pancakes, cupcakes, chocolate, cookies, milkshakes, soft drinks and more. Turns out, when you cook rice in coloured water, it works REALLY well. We made super bright blue, red and green boiled rice too (and even the chickens weren’t fussed about it!)
Now she’s back at school, and that project is done, I can get back to quilting…
Today’s post is really about how to add borders with Mitred Corners to your quilts. The “How To” following is from our “Illusion” quilt, and this quilt does have a two-colour border, but the principles are exactly the same, and you’ll be able to follow this through the pictures too.
Borders with Mitred Corners

The border is half dark and half light fabric, and we mitred the corners, in keeping with the block design.
Cut the border strips longer than you need, and this will help you mitre the corners.
On the wrong side of your quilt top, use a pencil to mark a point a ¼ inch in from the corners, as shown.
With right sides together, and matching light to light, and dark to dark (for this particular quilt), sew the four border strips to the quilt top, making sure to start and stop at the marked dots.
When you have sewn one strip in place, open it out and finger press the seam towards the outer edge at the corner.
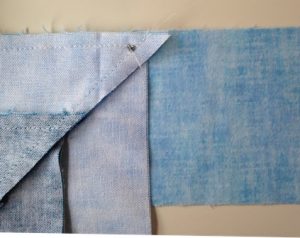
Leave a generous border strip allowance at the end, and line the second strip up so that the raw edges meet, and right sides are together.
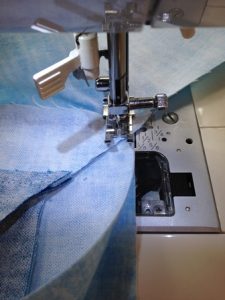
Put your needle down at the marked dot and start sewing from there to add the next border strip.
Continue around the quilt in this way.

The front of your quilt with the border strips attached. The sewing starts and stops at the dot you marked.

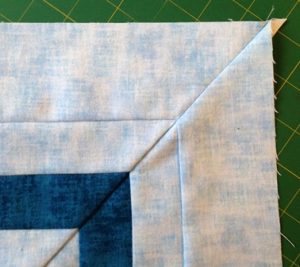
Use the diagonal seam in the corner block (in this quilt) to help you, and fold the corner of your quilt so that the block is folded in half diagonally and the edges of the border strips are aligned.
Use your ruler and line up the row of stitching across the bottom of the block (as shown), and rule a pencil line continuing that line across the ends of the border strips.
Pin well and sew on this line, taking care to stop at the dot on your quilt corner.

Trim the excess border strip ends.
Your finished mitred corner.
Repeat for the remaining three corners and press well.

Give this a go on your next quilt.

One response to “You’ll Never Guess What We’ve Been Making Instead of Quilts”
Leave a Reply

Welcome to our
Online Quilt Magazine Blog
Read through to discover hints and tips, articles from magazine contributors, sneak peeks and more!
Please enter your email address in the box below to receive notification of
new posts by email.
This looks very interesting!