
No-Sew Easter Egg Fun!
April 6, 2023
Hi!
Who wants Easter Eggs without the calories? OK – I know that’s not usually not what we’re after at Easter, but you’ll want to make an exception for these cuties!
Grab some pretty scraps and some bright ribbon, and you’ll be making these No Sew Easter Eggs in no time at all.
You Will Need:
Polystyrene egg shapes. You can make these fabric covered eggs in a variety of sizes. I wouldn’t go smaller than these, but anywhere from about 3 inches upwards in size will work just fine.
Assortment of bright fabric scraps
Ribbon of your choice. Use the size of your egg as a guide to ribbon width – you don’t want too think on a small egg, or too thin on a large one. Our eggs were about 3 inches long, and our ribbon about ½ inch wide.
Small head metal dressmaking pins
Sharp knife / craft knife
Butter knife
Assembly:
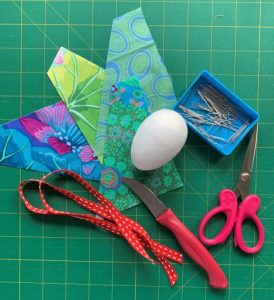
Your supplies. Make as many eggs as you like – a basket full on your Easter table will look gorgeous.
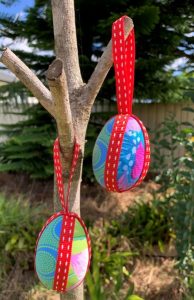
Add loops like we did, and hang them for an Easter Tree decoration.
Add them to an Easter wreath – they are really versatile and quick to make.
Tip – these are a GREAT project to do with kids too. Use bigger eggs for smaller kids, and let them choose fabrics and colours as they like.
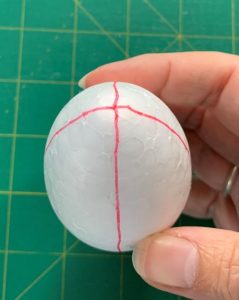
To start, use a pen to mark lines around your egg shape, intersecting at top and bottom, so you divide it into quarters.
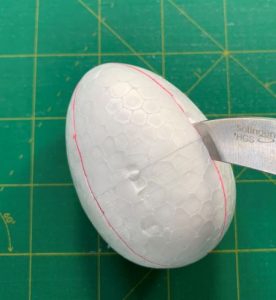
Now carefully cut along the lines with a sharp knife. You will need to go about a ½ inch deep.
There are no extra points for cut hands and Easter trips to Emergency, so hold the egg firmly and cut carefully.
Now for the fun bit!
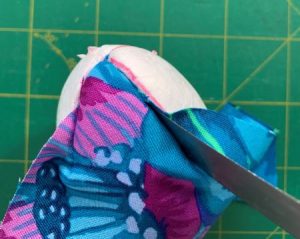
Cut a piece of fabric roughly to shape and start covering those egg quarters. Cut your fabric on the bias, so the stretch in the fabric covers the curved side smoothly.
Use the butter knife to push the fabric into the cuts. You will need to leave about a ¼ – ½ inch seam allowance.
If you don’t like how it’s sitting, simply pull that part out and re-do it.
You can trim the fabric as you work your way around the shape.
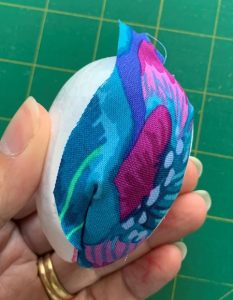
Start at one end, work down the sides and finish at the opposite end.
Your finished covered quarter!
The ends will tuck away neatly, and stay put while you work your way in quarters around the egg.
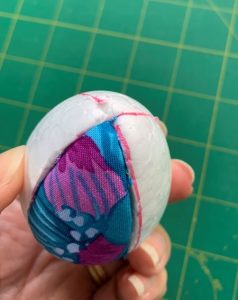
Three quarters done…

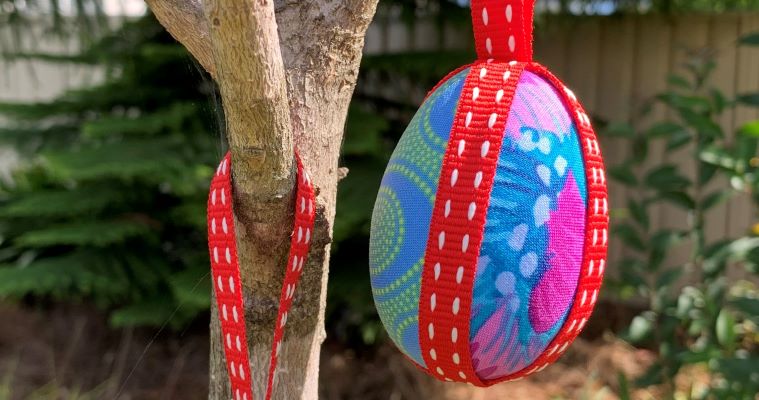
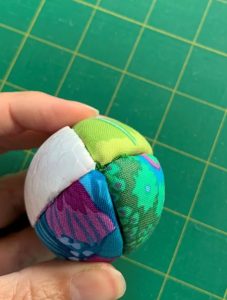
…and your No Sew Easter Egg is Finished!
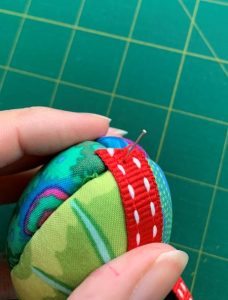
Finally add the ribbon to cover your ‘seams’.
Start at the top, and secure one end as shown with a metal pin.
Push it all the way in.

Take the ribbon around to the bottom of the egg and secure with another pin.
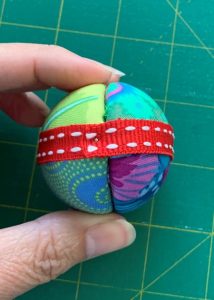
Bring the end back up to the top.
Overlap the start slightly, cut and pin the end to secure it.
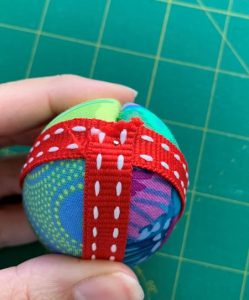
Then add the second piece of ribbon.
Again, start at the top as pictured and secure with a pin.
Take the ribbon around the shape, securing at the bottom with a pin as well.
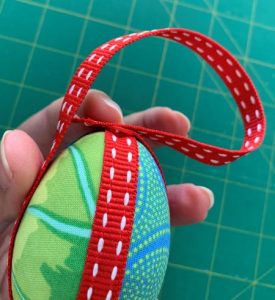
When you come back to the top, loop the end under, as shown, so it overlaps the start of that length of ribbon.
Pin the end to hold it, then bring the ribbon smoothly up the side to the top, so it overlaps the end and keeps it neat.
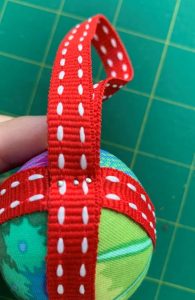
Pin through all layers with 2-3 pins in a row to secure properly, and you’re done!
The length of ribbon depends on how large a loop you’d like at the end.
(As an option too, you could pin the centre of the length of ribbon to the base of the egg, then bring up the ends to the top, pin them and tie a bow instead.)
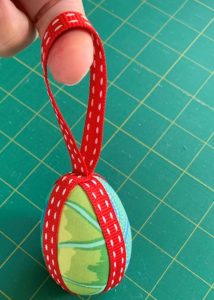
Ta dah!!
Happy Easter!!!
You’ll whip a bunch of these No Sew Easter Eggs up in no time, and that leaves you plenty of time then to make our Home Made Rocky Road Easter Eggs (Recipe in our new April issue out now!)
Enjoy!

2 responses to “No-Sew Easter Egg Fun!”
Leave a Reply

Welcome to our
Online Quilt Magazine Blog
Read through to discover hints and tips, articles from magazine contributors, sneak peeks and more!
Please enter your email address in the box below to receive notification of
new posts by email.
Looks like a lot of fun, wish I had know early we have finished our eggs but I will put it away for next year, also think of Christmas using round balls and Xmas prints for small trees. thank you for the idea.
absolutely fabulous lots of fun
Kids loved them actually we are still making them
Great